1 ) Make sure plugin – Testimonial Rotator is installed and activated.
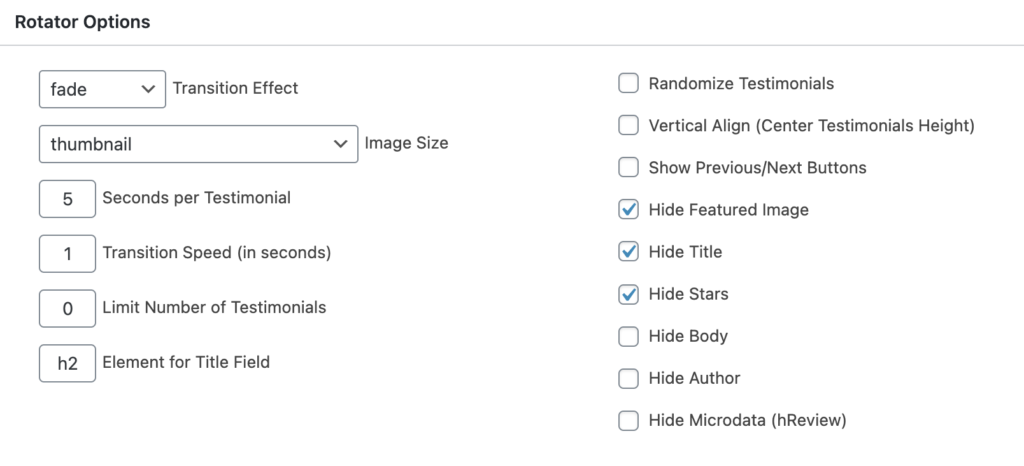
2 ) Create a new rotator first, name it whatever you want. Configure the settings of the rotator like the demo below.
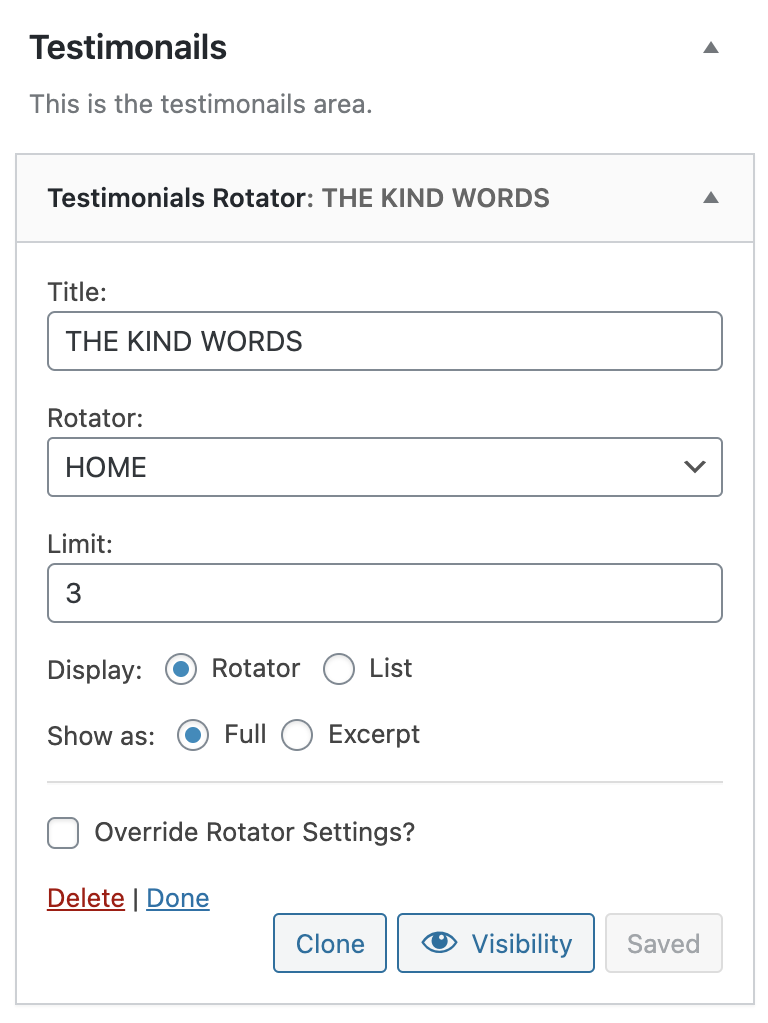
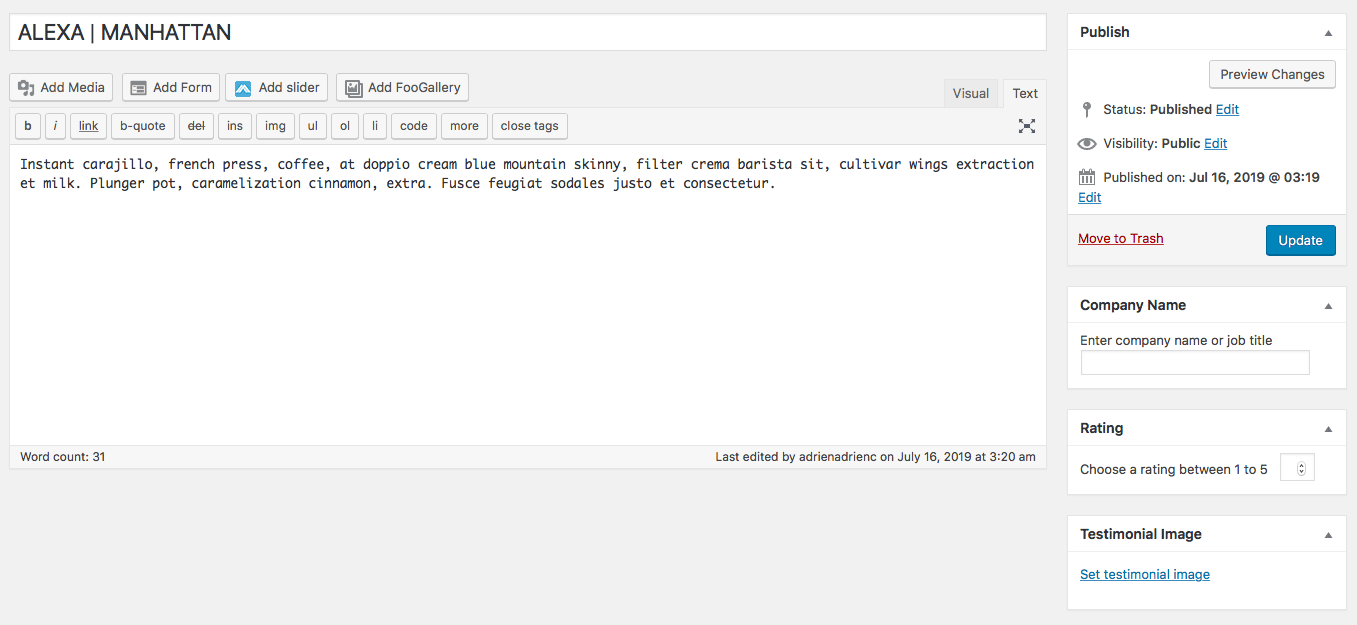
3 ) Then create new testimonial > Scroll down the page until you see the “Testimonial options” > You’ll see the rotator you just added > click its box then hit the save button. This step means adding the testimonial to the rotator.
4 ) Go to Appearance > Widgets > Drag “Testimonial Slider” to the “Testimonial” widget area > Select the rotator you’d like to be displayed > hit the save button.
The testimonial settings
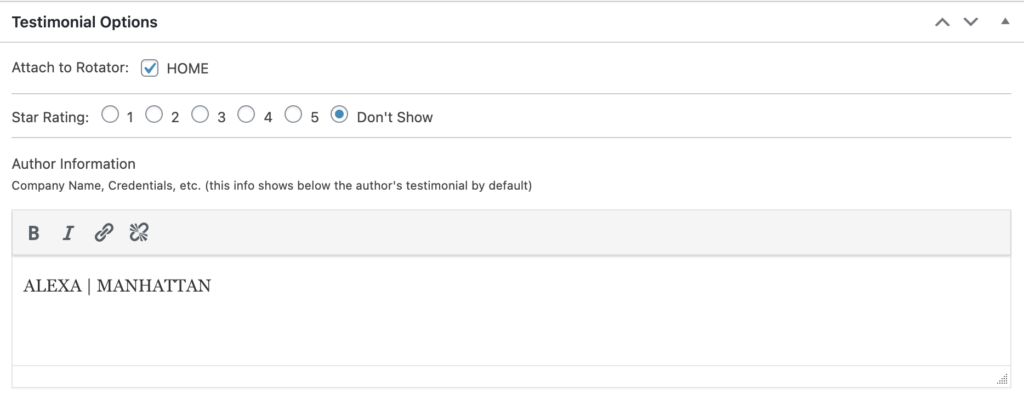
The rotator settings.